The pad

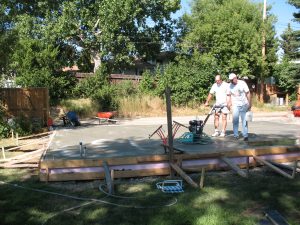
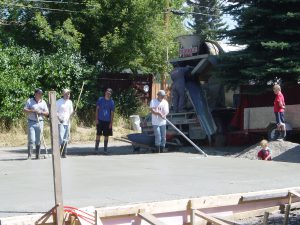
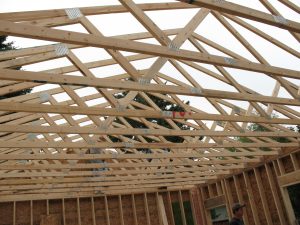
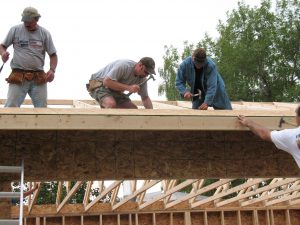
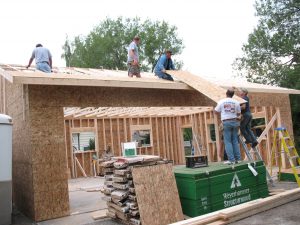
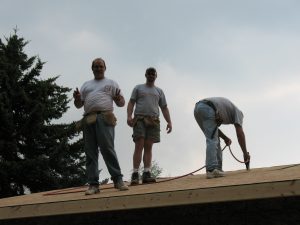
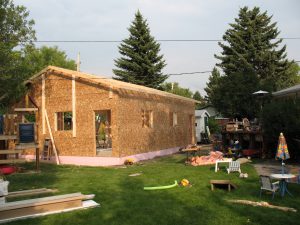
Once the old garage was removed we created a new pad for the new 3 car garage.  We debated building on top of the old cement pad, but decided that was too risky, and it wasn’t in the right place.

So, we called our friendly survey company and had our property line marked out.  Given the research we did on local building codes we knew how close to the property line we could be, and we located the new pad so it was parallel to the alley property line.  In the end we decided to put it back a bit more than the minimum so we had a bit more room to get in and out, and made the apron two feet long.

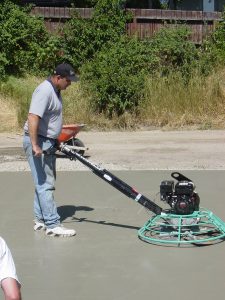
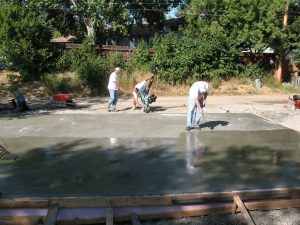
The pad itself was made of recycled crushed cement which was relatively inexpensive, and was quick as the contractor removing the garage and old pad could get it when he dumped the old cement.

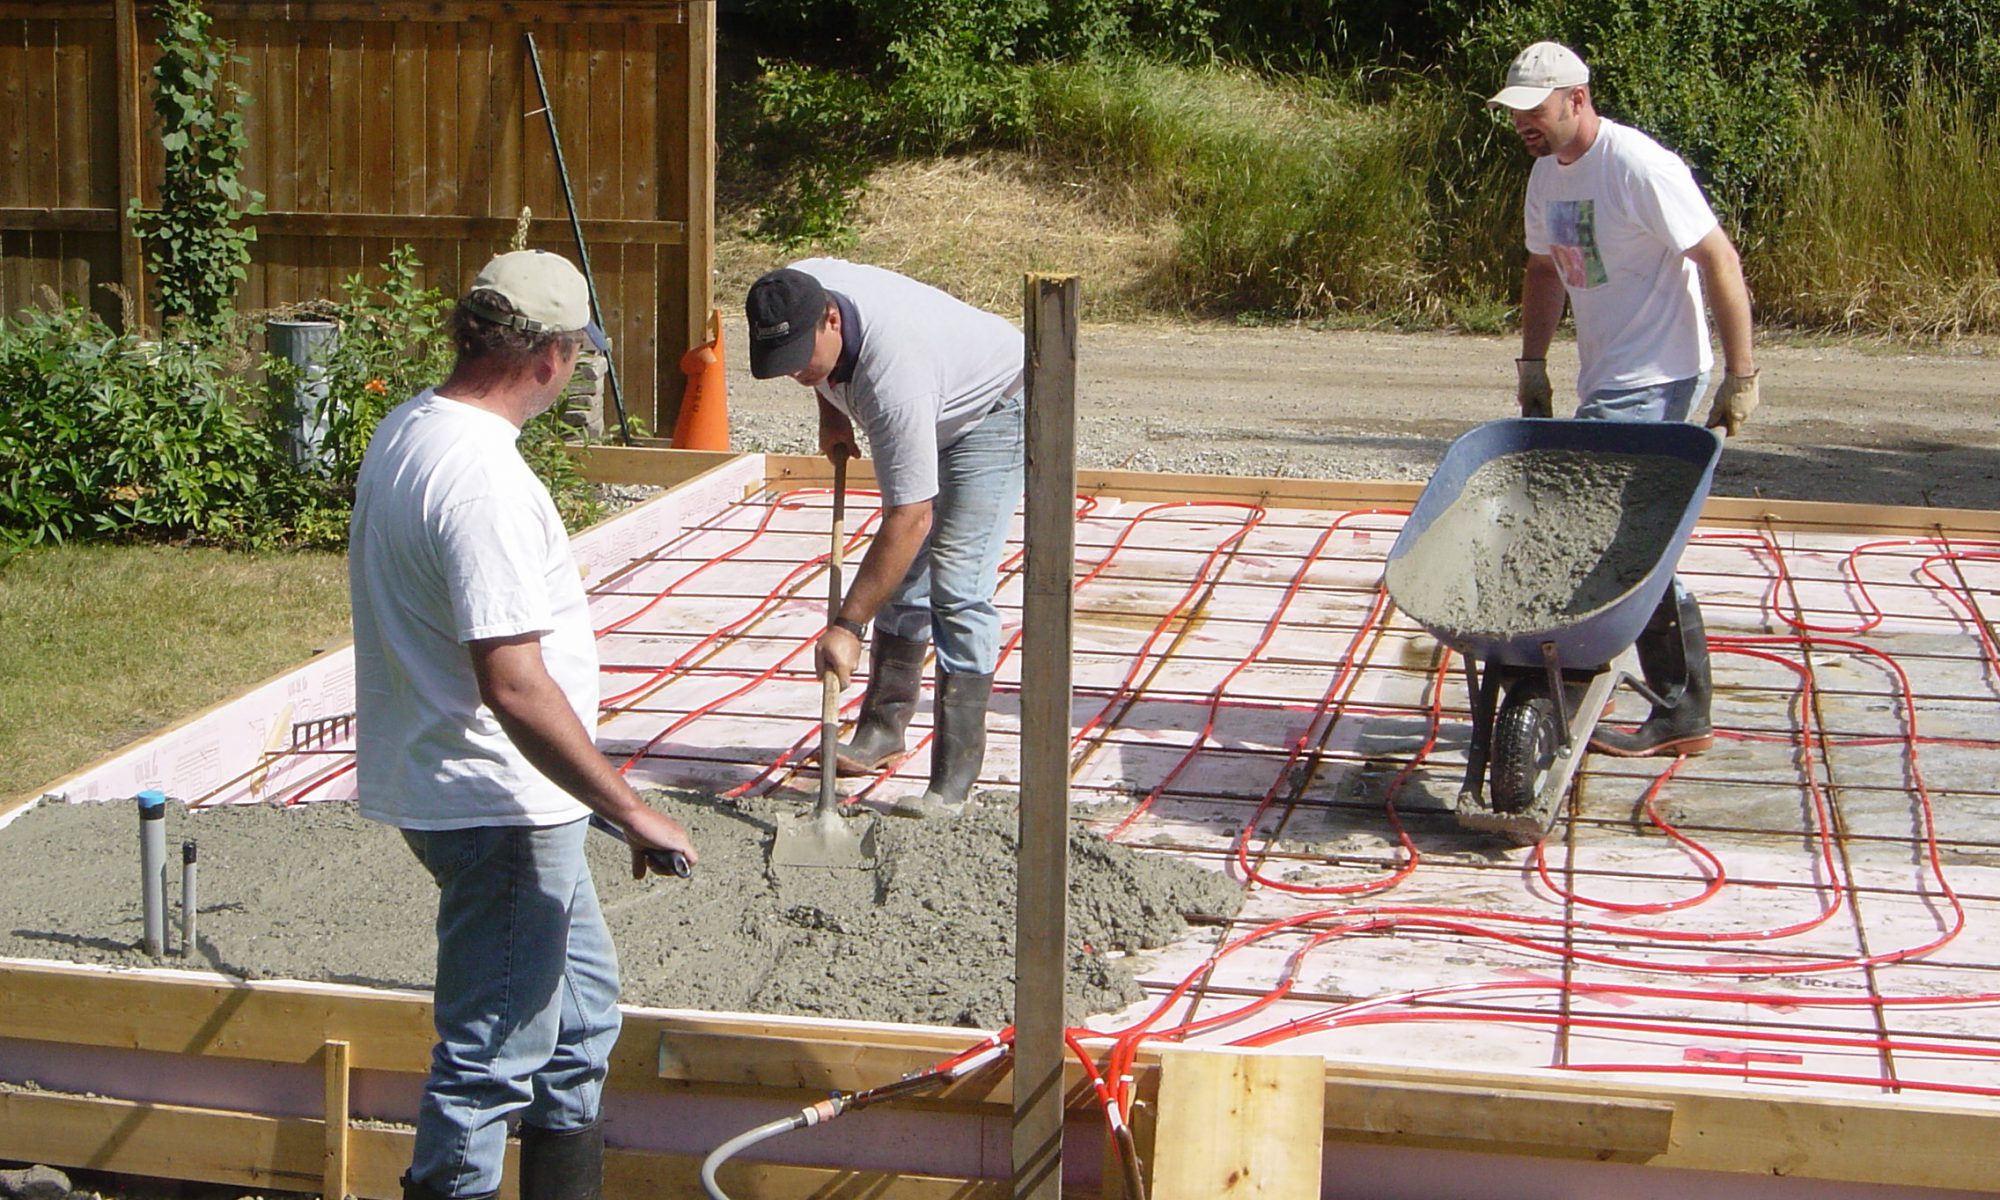
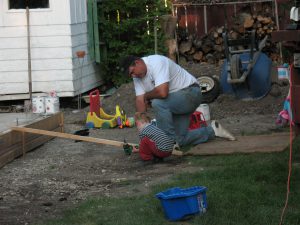
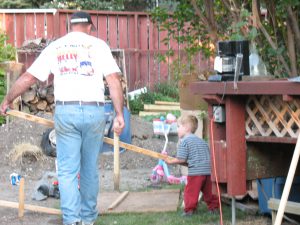
Once leveled (more or less) we packed the new recycled cement with our Toyota Highlander.  I watered it down with a sprinkler, then drove back and forth so the tires overlapped as I went.  It did a really great job, and was hard as a rock once dry.  Overall one of the best foundations I have seen so we were off to a good start.

The Plans

As with any building project you should start with plans for building.  In this case I started with the city’s website on building codes.  It turns out if you build a garage larger than a certain size you have to get a building permit (like a house) which adds a ton of time and money to the process.  So, I drafted plans that were just shy of the maximum in order to avoid that hassle which as you can see below was 24′ deep and 33′ wide.   The plans were made in Visio.

We put in 2 man doors with the thinking that one would access the separated bay (the man cave side) and one for the cars, which also was much closer to the backdoor of the house.

We put a wall in for the man cave side, mainly to give some additional space for putting the dart board and to keep the dust and so on to a minimum.

The windows were quite big we thought, but in the end were about right with good lighting in the 3rd bay in particular which was really nice.

In floor heating Preparation

If anyone has had the pleasure of working in a shop with heated floors, you will never want to build a garage or shop without them.  It is simply the only way to have it!

Heated floors have all sorts of benefits, but in a shop it is especially awesome as it melts all your snow and is a please to stand and work on.  In my case if you also use it as a man cave it makes playing darts easy, and working on a project in the winter is never a probelm.   The only issue I ran into was I had to install a ceiling (bathroom) fan and run it pretty much constantly in the winter as there was a ton of condensation as the heated floors do cause the water to evaporate rapidly.

So in Canada it is cold, and in any cold climate you need to insulate the floors from the surrounding environment.  This is especially important for on grade installations.  So we used R20 Dow Styrofoam rated for our load overtop our plastic vapour barrier.  We had to tape it together to hold it.  Note it is on both the wall and floor throughout.  We put a pile of nails into the walls at an angle to help hold it to the concrete when it was poured.

Insulation on side and bottom.

Once we had the vapour barrier and insulation we had to add rebar.  We used a simple square grid about 1′ apart.  You could use the 4″ concrete mesh but we find rebar more durable and really isn’t a ton of work.  Each cross was wired together to hold it.  Then we put 1/2″ floor plastic water pipe from Home Depot on top and tied them to the rebar (on top) using plastic zap straps.  That held everything in place really well.

I wasn’t sure that I wanted any joins so we ran all the runs to a single point as shown in the pictures.  One thing to note is we had 2 of the 3 on the double car side, so we could run that zone seperately.  The single car side we ran as a single zone so we could run additional heated water flow there. We did make sure none of the pipes crossed over each other as I had heard that could cause a hole over time.

The layout patter in the pictures really worked well with even heat, so I would do it similarly again.

Apron (alley) end
The Low side
Layout for house side
Keeping lines seperate
Run ends at manifold
Keep the pipes a bit away from outside wall

Cement pouring

Before you can pour cement you will want to pressurize the in floor tubing so it won’t get crushed when people or the wheelbarrows go over it.  I had read different suggestions, but we ended up just presurizing with water.  It was easy to do using our tap water at about 60 PSI.  The other benefit was if you had a puncture anywhere while working it would be quite obvious so  you could fix it right away before the cement sets.  Lots of sites suggest air, but of course you would need to watch the gauge, and you would have to try and find it.

We started in the far corner from the cement truck and worked out way back.  We had a semi truck with 10 meters and a 4″ pad most of the way, although the downslop wall was a bit more.  The cement had fibre added to help strengthen it and keep cracking down.  It wasn’t a lot extra from Burnco and we did end up with a beautiful pad that stood up really well.

Pouring was pretty straight forward.  We had a laser level so my nephew checked the height as we went with our pour.  We made the pad level rather than sloped to the alley to make building the walls easier (not on a slope).  I think if I did it again I would have taken the time to pour the walls seperately and level and made the pad slope out.

It took a fair amount of work for a couple hours, but wasn’t too bad with help!

The leveler
Cement truck
Getting the water out
Pour start with some additional bracing

One area we had a problem with was the downslope wall started to really bow out with about a foot of conrete.  We hadn’t added bracing at an angle which was an oversight.  We certainly should have, but added it before we got too far, although the wall was never perfectly straight.

A real help!
Adding some braces
Big helper adding a brace

Cement Finishing

Like any cement job you need to float the cement to start, then finish it a couple of times. In our case we were a bit late in the final finsh coat and had to add some water in a few spots to get it glass like smooth – which we did!

Finishing with a power trowl
First float
Getting a glass finish

Once we had it smoothed out we sprayed on a sealer to keep the rain out and help protect it.

Concrete sealer

Framing day

The garage was a straight forward design that we bought from Totem (now Rona).  We used 2×6 walls for extra insulation, and 2′ spaced rafters.  It all arrived on site by a picker who dropped it by the pad.  Pretty much everthing we needed was there, and with some helpers we got all the walls framed and up in a day along with the rafters.

Wall1 going up.

We ran into some problems getting our wall around the conduit to the house (for electrical) and the heating pipes.  We ended up building that wall in 2 sections and tying them together.

Corner work

I was lucky to have lots of help with the promise of beer and steak.

Hmmm, what to do with the pipes?
Wall corner and bracing

Time to put up the rafters and sheet the roof.  We ended up doing a lot of this on Sunday.

Starting the rafters
Place then and flip them
Rafters with braces
Rafters up

Now we had to sheet it.  Wasn’t too bad with a 3 12 slope.

First row
Send it up
Nailers busy…

Tyvek and shingled

After framing and adding all the windows and doors I shingled it by myself.  It wasn’t too bad of a job just picking away, but that was it for that summer.

The next year I put Tyvek all the way around as a moisture and wind barrier and sealed it with Tuck tape.  Looks good I would say!

Tyvek’d and sealed

After this I had a scratch coat put on for stucco.  It ended up staying that way for years with just a coat of paint as I ended up siding the house with Hardie board siding and wasn’t going to bother ripping the stucco off to match.

The inside

I haven’t found any inside pictures handy, but essentially we put R20 Rockwool insulation in the walls, and R40 in the ceiling.  I used Rockwool as I knew it would moist and didn’t want mold.

Once the vapour barrier was on I sheeting the inside with 3/8 OSB and sprayed everything white.

OSB isn’t much more expensive than drywall, is super easy to work with and just used a sheeting stapler to put it on.  Certainly looks good in a garage or shop, and has the major advantage of being much more durable if you run into a wall with something you don’t immediately get a hole.  It also means mounting things is really easy.  I would never build a shop with drywall again.

Heating

The easiest would be just to use a boiler, hook it up to your heating manifold and away you go.  I put a ball valve on the input side of each pipe run so I could control flow, which worked fine.

I had an extra water heater that was still good, so I chose to use a water heater and a circulating pump on a thermostat.  That way I could keep the water tank at a higher temp to give a surge of heat when needed.  The trick with a water tank is you have to make sure it isn’t going to be pressurized or it will explode.  You need a surge tank.  This is likely not legal in many jurisdictions so be sure to check.

I didn’t use glycol in my system as it was already full of water. I likely should have, and had plans to, but sold it before I got around to it.  The risk was only if your system stopped in the cold and burst.  Certainly I would have done it if I stayed longer, although water does work fine it could have troubles over time.