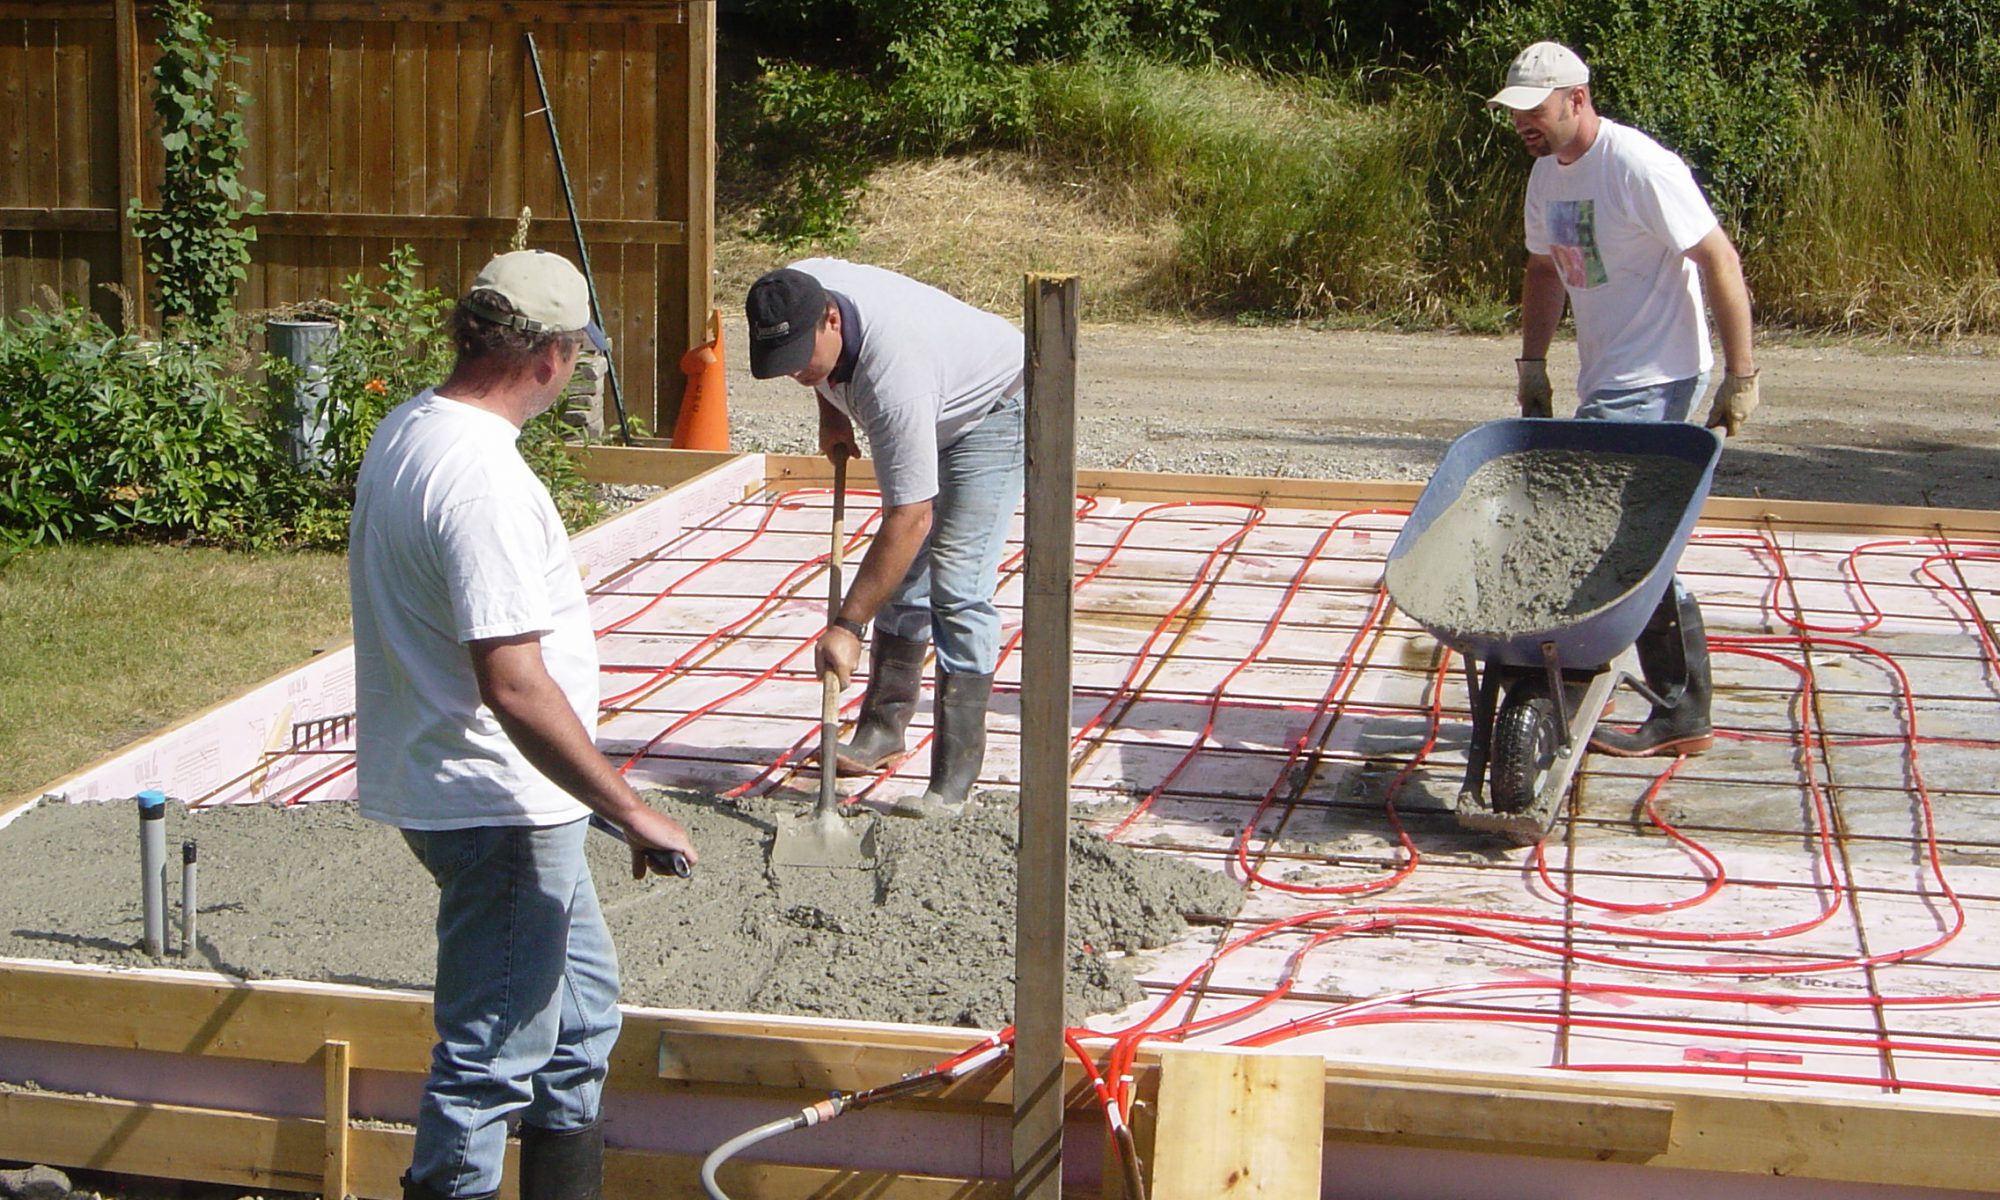
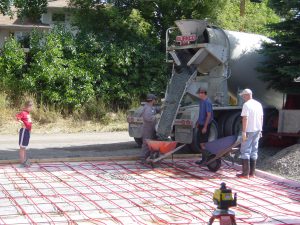
Before you can pour cement you will want to pressurize the in floor tubing so it won’t get crushed when people or the wheelbarrows go over it. I had read different suggestions, but we ended up just presurizing with water. It was easy to do using our tap water at about 60 PSI. The other benefit was if you had a puncture anywhere while working it would be quite obvious so you could fix it right away before the cement sets. Lots of sites suggest air, but of course you would need to watch the gauge, and you would have to try and find it.
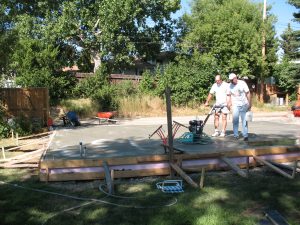
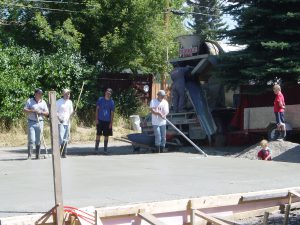
We started in the far corner from the cement truck and worked out way back. We had a semi truck with 10 meters and a 4″ pad most of the way, although the downslop wall was a bit more. The cement had fibre added to help strengthen it and keep cracking down. It wasn’t a lot extra from Burnco and we did end up with a beautiful pad that stood up really well.
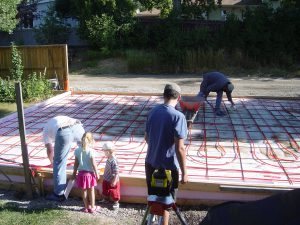
Pouring was pretty straight forward. We had a laser level so my nephew checked the height as we went with our pour. We made the pad level rather than sloped to the alley to make building the walls easier (not on a slope). I think if I did it again I would have taken the time to pour the walls seperately and level and made the pad slope out.
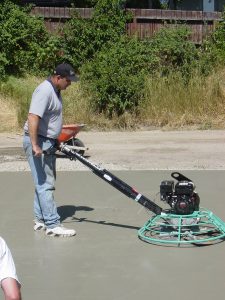
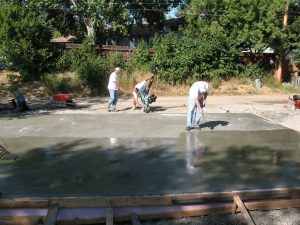
It took a fair amount of work for a couple hours, but wasn’t too bad with help!

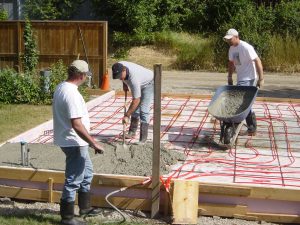
One area we had a problem with was the downslope wall started to really bow out with about a foot of conrete. We hadn’t added bracing at an angle which was an oversight. We certainly should have, but added it before we got too far, although the wall was never perfectly straight.